Whether you’re a beginner or using foundation for years and unsure if you’re doing it right; I hope this guide is useful and will give you some tips and tricks that you weren’t aware of! You’re here to learn so let’s get right into it!
Coverage
So first thing you should be thinking about is what’s the finished result your looking for. Do you want a perfect blank canvas look or a more ‘I woke up like this vibe’? These are the coverage levels. If you are wanting perfect smooth blank canvas that’s a full coverage foundation, and the latter is a sheer coverage foundation. There’s a huge coverage spectrum, from barely there to not a pore in sight, and there is definitely one for you.
Finish / Texture
Next to consider when it comes to overall look is the finish, or texture. Are you wanting matte or glowy? Texture can also largely depend on skin type, as a rule people with more oily skin tend to like and suit matte foundations, as they tend to last longer and help prevent skin from becoming oily. People with drier skin type would almost always dislike a matte texture and find a hydrating formula, which tends to have a dewier finish, more comfortable and flattering.
Color Selection: shade and undertone
Now you’ve figured out the above, selecting the correct undertone and shade is your next task. First work out your undertone; here is a great article that can help you. Most brands have a system to help you decipher the undertone of their products, however the systems vary from between brands
For example, MAC use NC, NW, N, C before the shade numbers to indicate neutral, cool or warm undertones. I definitely recommend chatting with sales assistants to learn about the system for the particular brand you are looking at.
In the store I try the different shades on the back of my hand, once I feel I’ve found a suitable one, I apply it on my cheek, then take a good look in different lights. Even taking some photos, and asking for a sample to try at home is always a great idea, if you have the time.
Tools
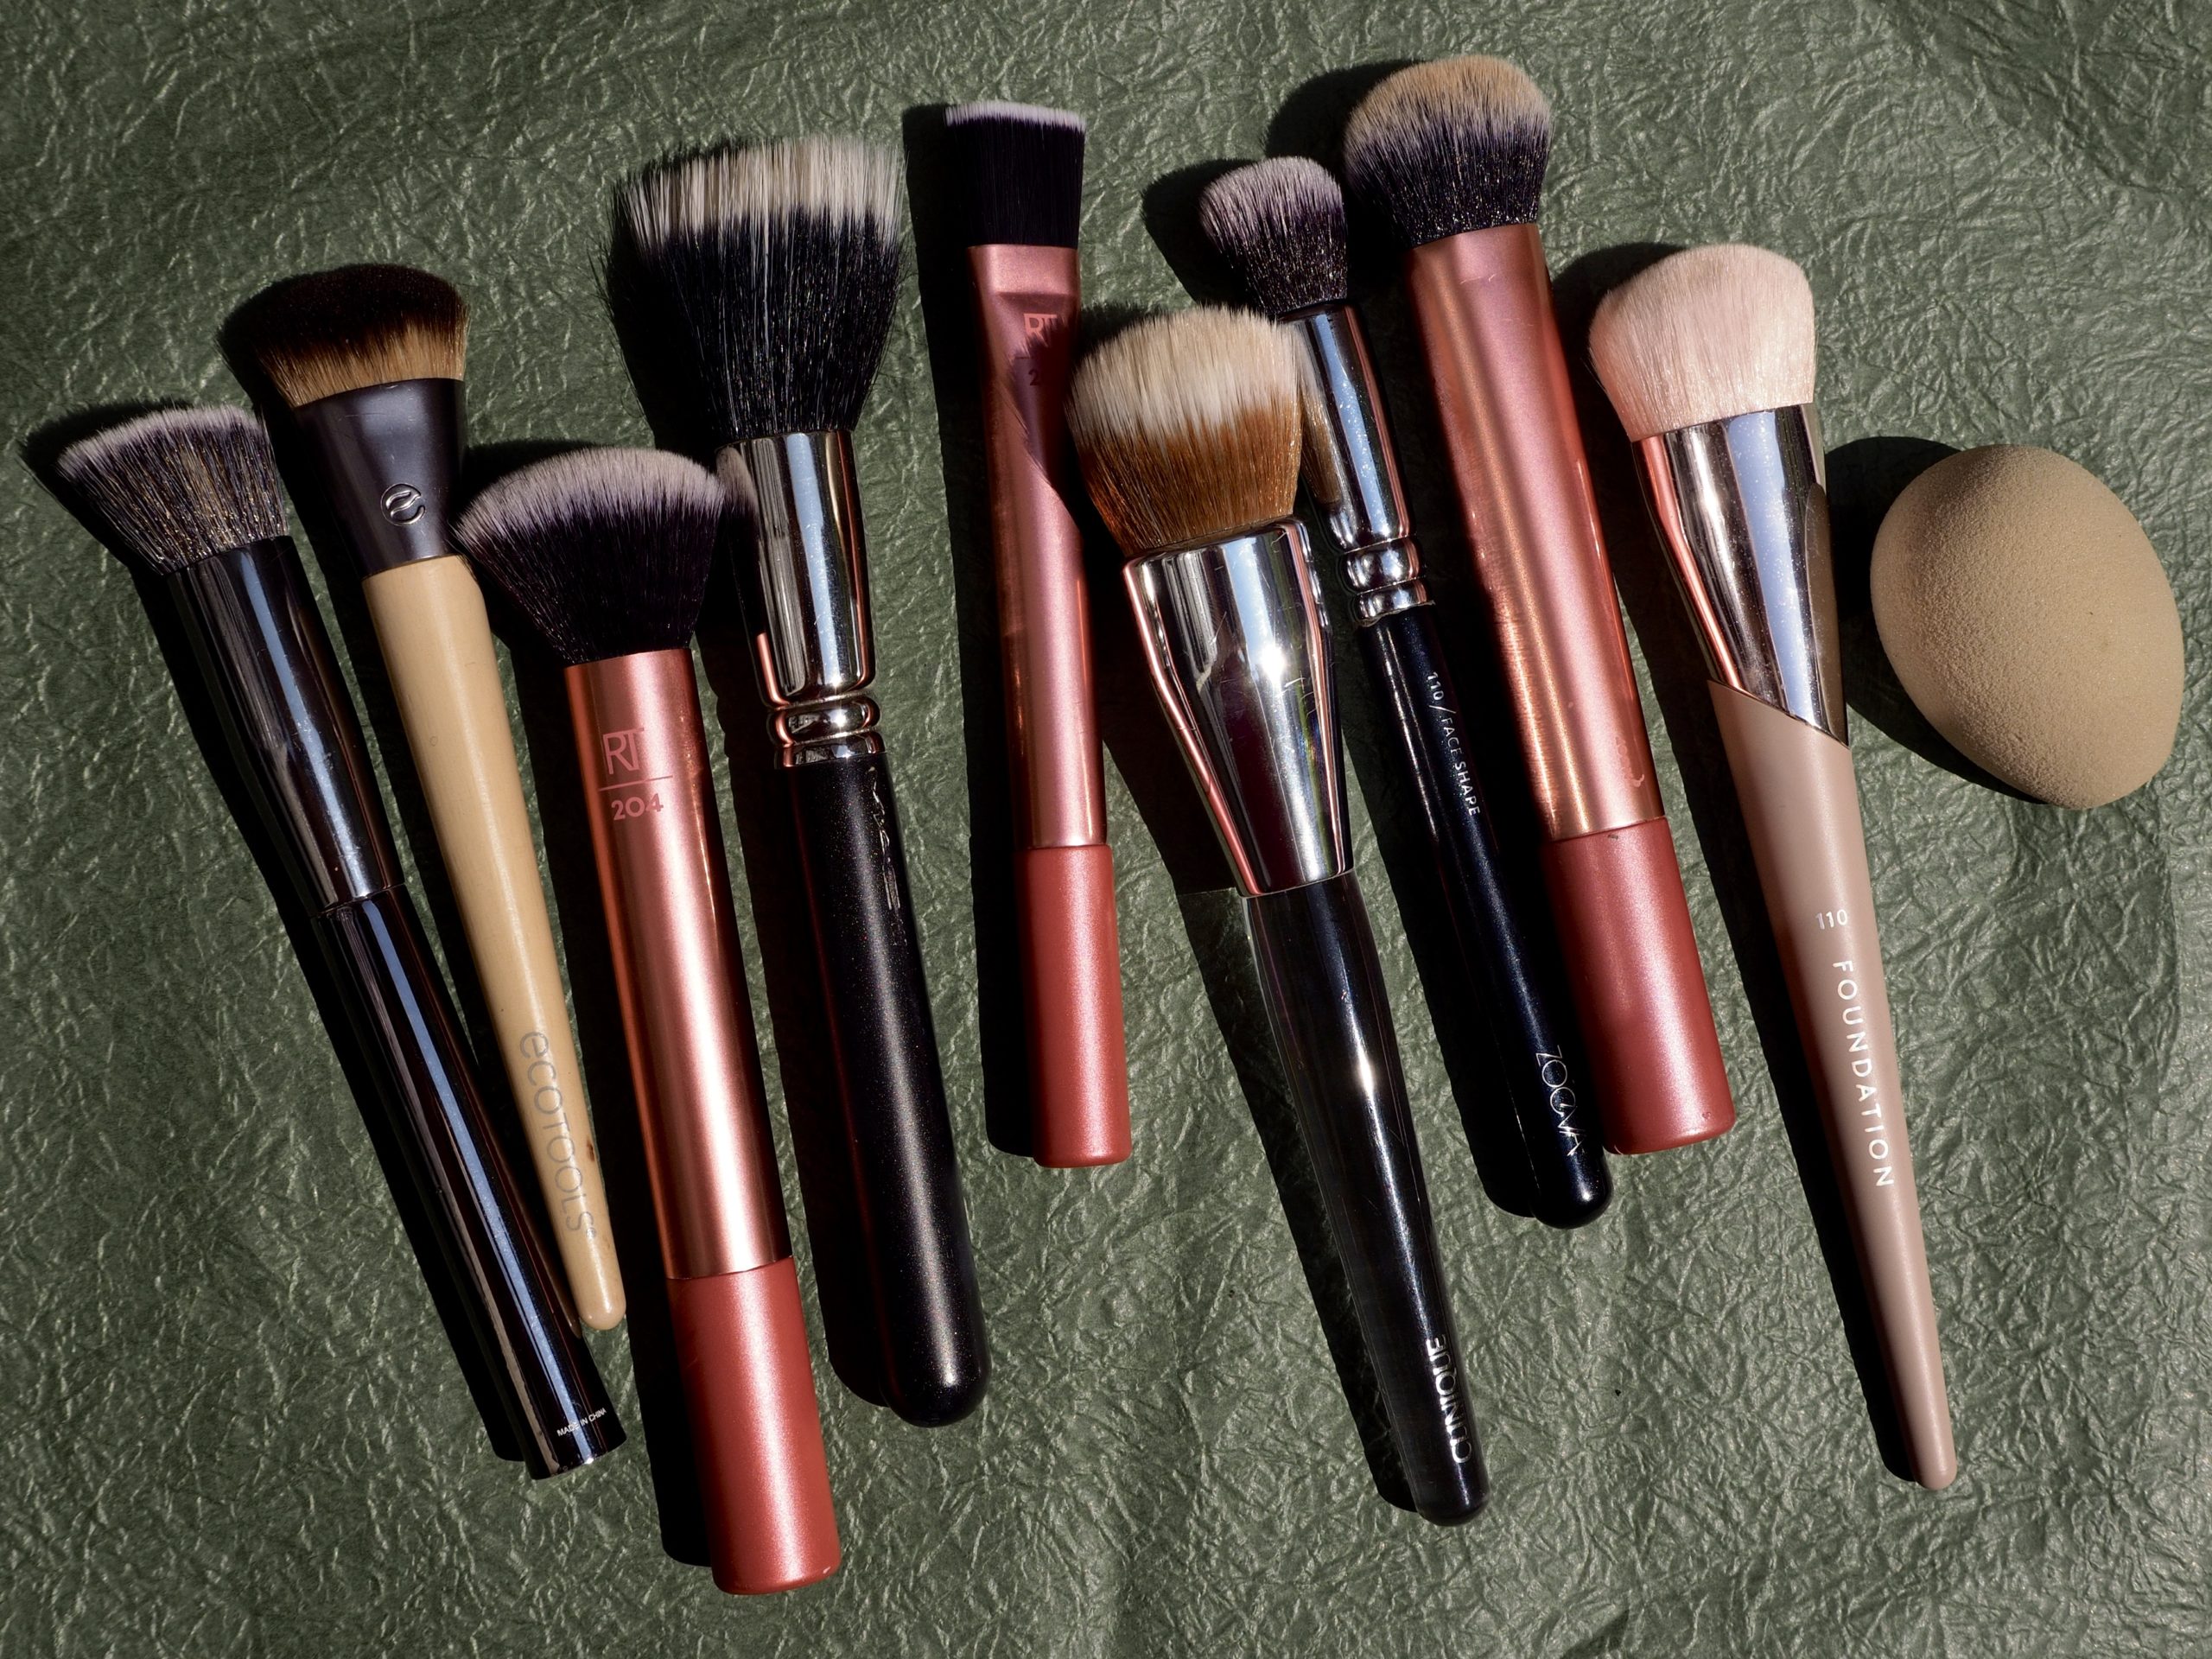
Ok so you’ve finally managed to find your foundation, you’re all ready to go, but how are you going to applying it? Incorrect application can make even ‘perfect’ foundation look less so! The simplest option is to use your fingers (clean obviously!) and honestly, I often think it’s the best way.
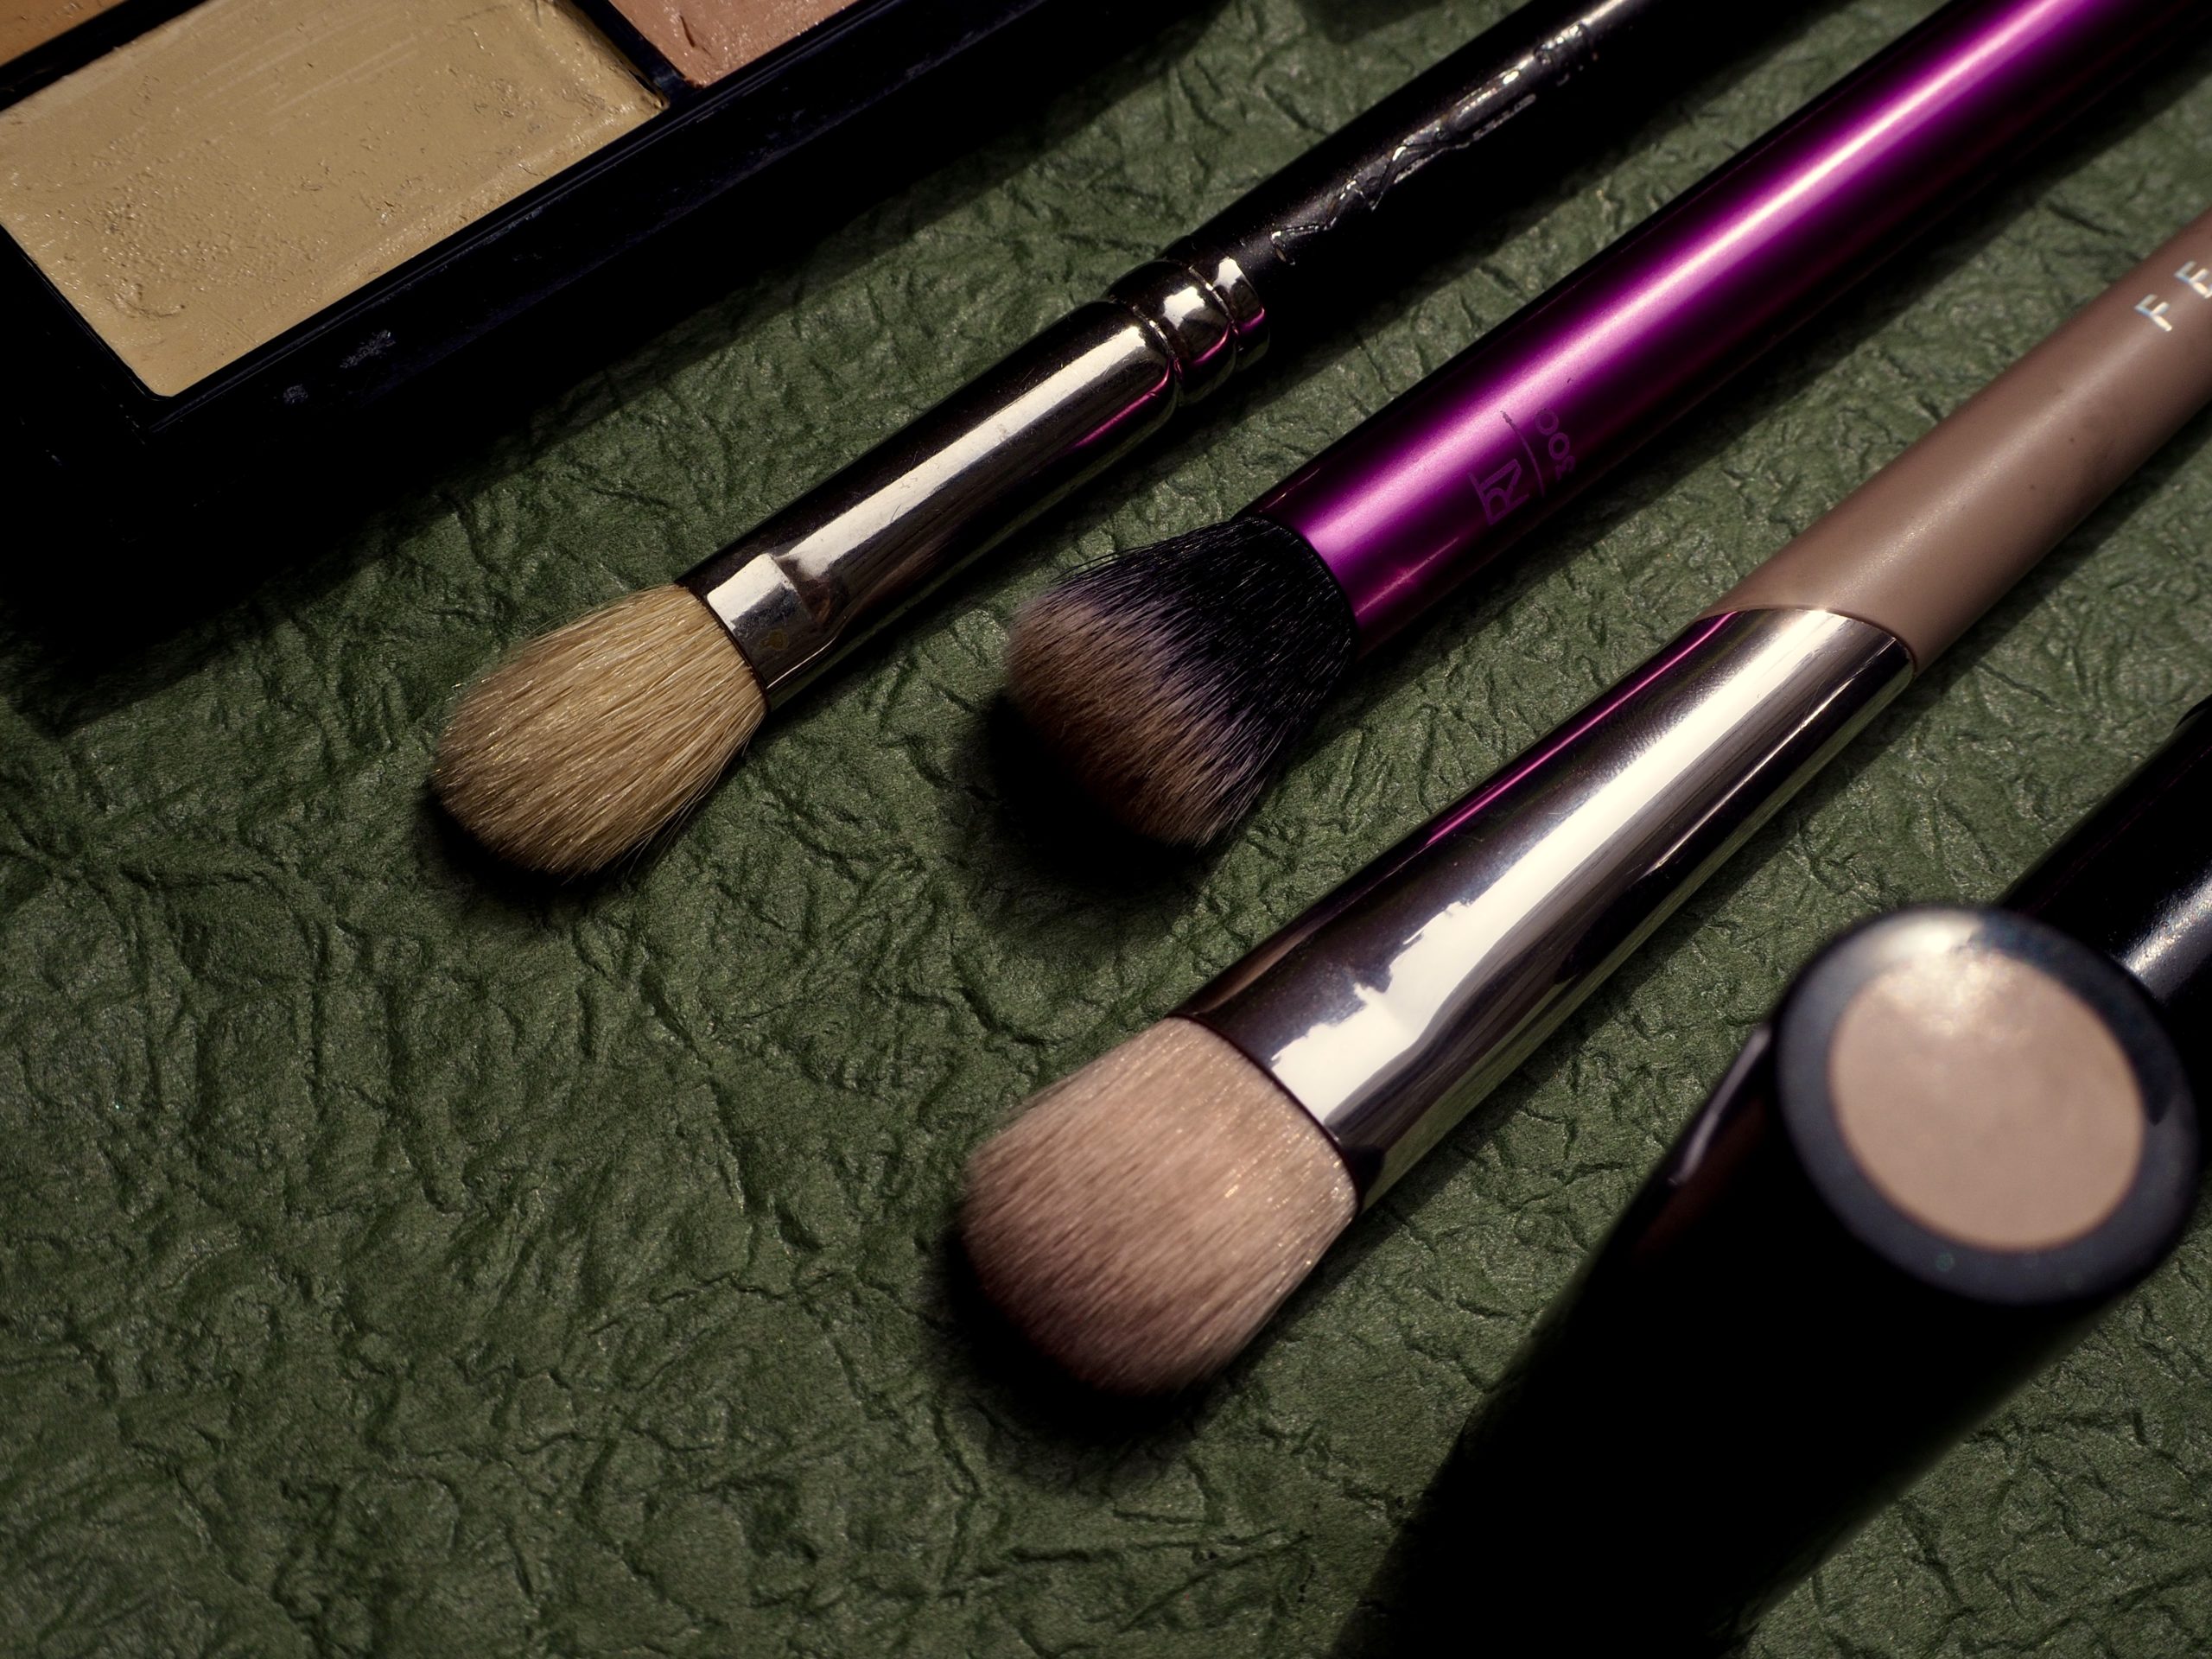
If you prefer brushes there are a few to choose from; My favorite is a buffing brush; like this one from Real Techniques, or this one from Zoeva. They’re fast,easy to use and you shouldn’t get those pesky streaks. The zebra look is not a trend…yet. Additionally sponges such as the beauty blender are wildly popular, I do like them but please please wash them often. The Fenty sponge is a decent alternative sponge to the beauty blender!!
Wow I think that’s it! Hopefully with this you should be on your way to grasping the challenge of selecting a foundation perfect for you…
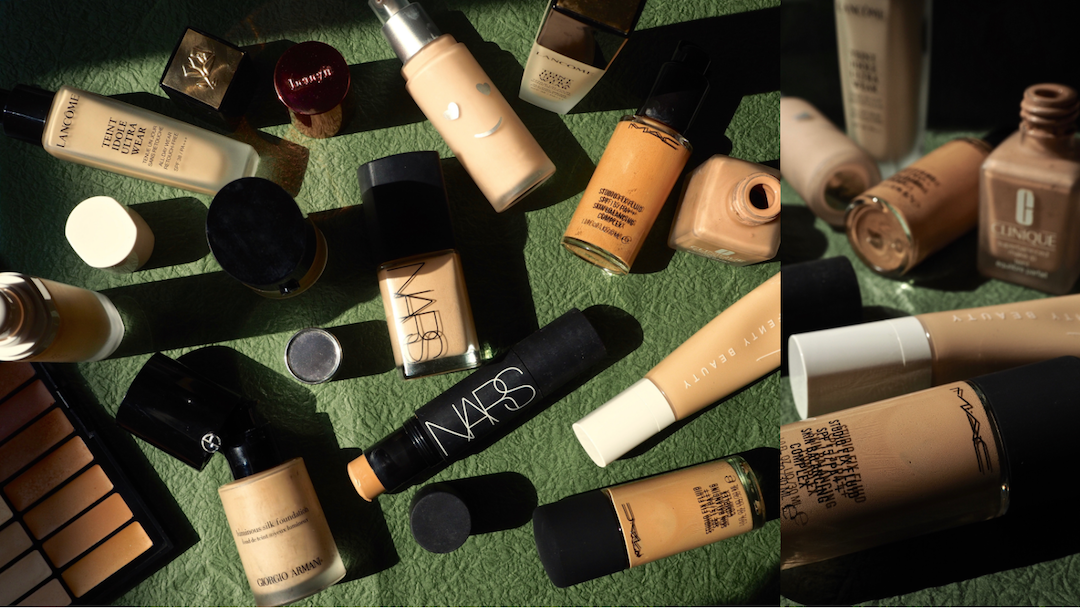
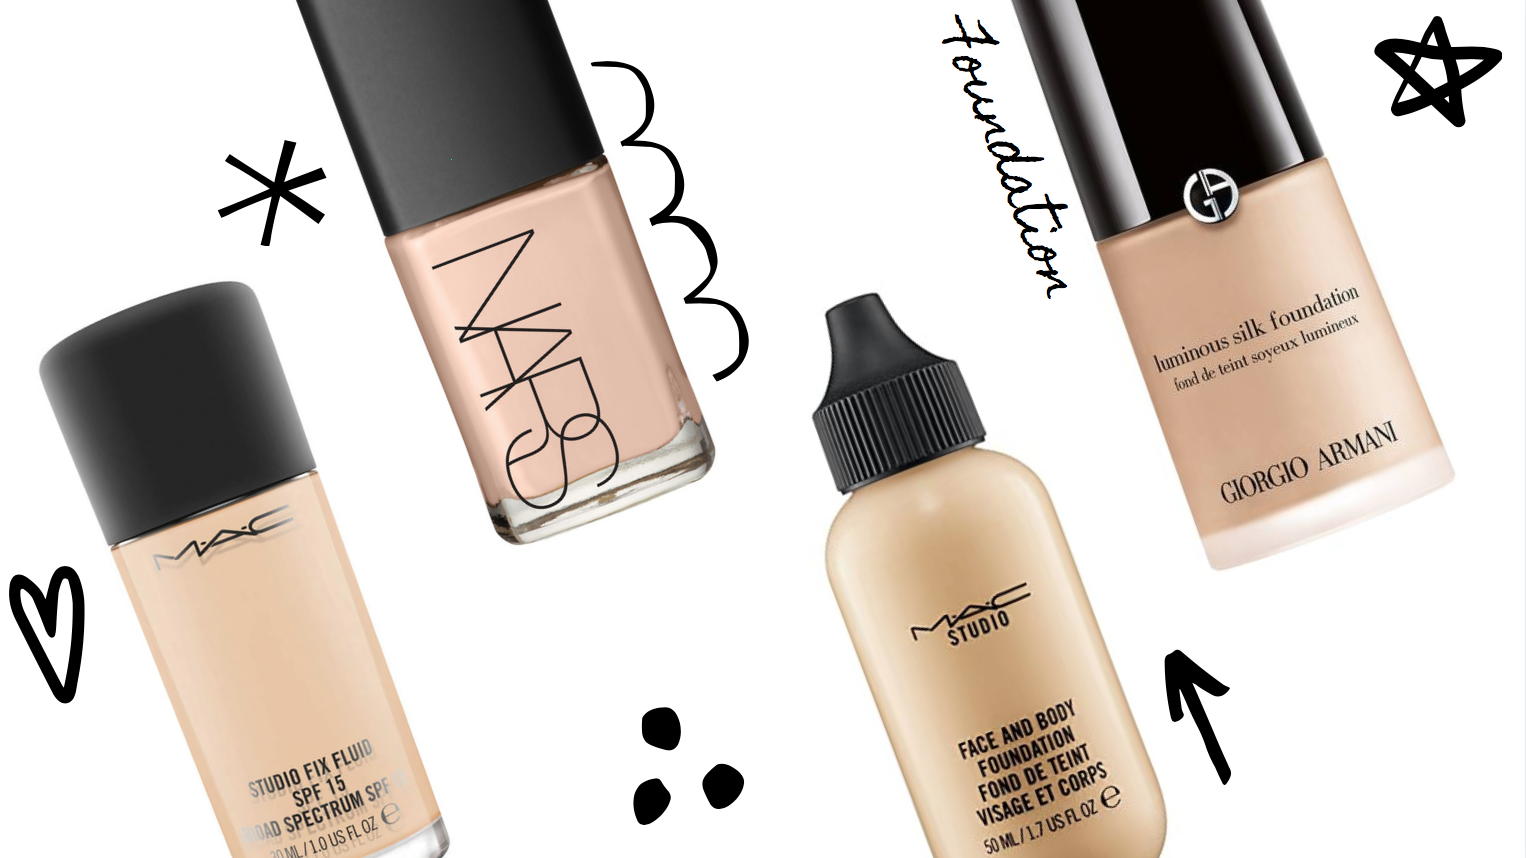
I guess I should tell you a few of my favorite options, that I use on both myself and in my MUA kit. One I use myself a lot is M.A.C face and body, incredible light glow everyday foundation and then if wanting bit more I will use the Nars Sheer Glow. In the kit M.A.C Studio Fix Fluid has never let me down and the Giorgio Armani Luminous Silk is lovely.
MUA bonus tip:
Before foundation make sure your skin is prepped real good; a product is always going to perform better with well preped skin routine. With oily skin a light moisturizer and a lovely long-lasting primer should do the trick. Dry skin gals use a moisturizer that hydrates and plumps the skin; I would avoid super long lasting primers as they will dry you out, one with some pearl that talk’s about glow would be a better choice. Lastly… always always sunscreen before foundation and after skincare!
Things to ask yourself when shopping for foundation:
What coverage to I want? Full Coverage, satin, dewy?
What skin type do I have? More oily or dry?
What undertone is this foundation? Will it match my skin?
What kind of finish do I want? Matte or Glow?
Concealer
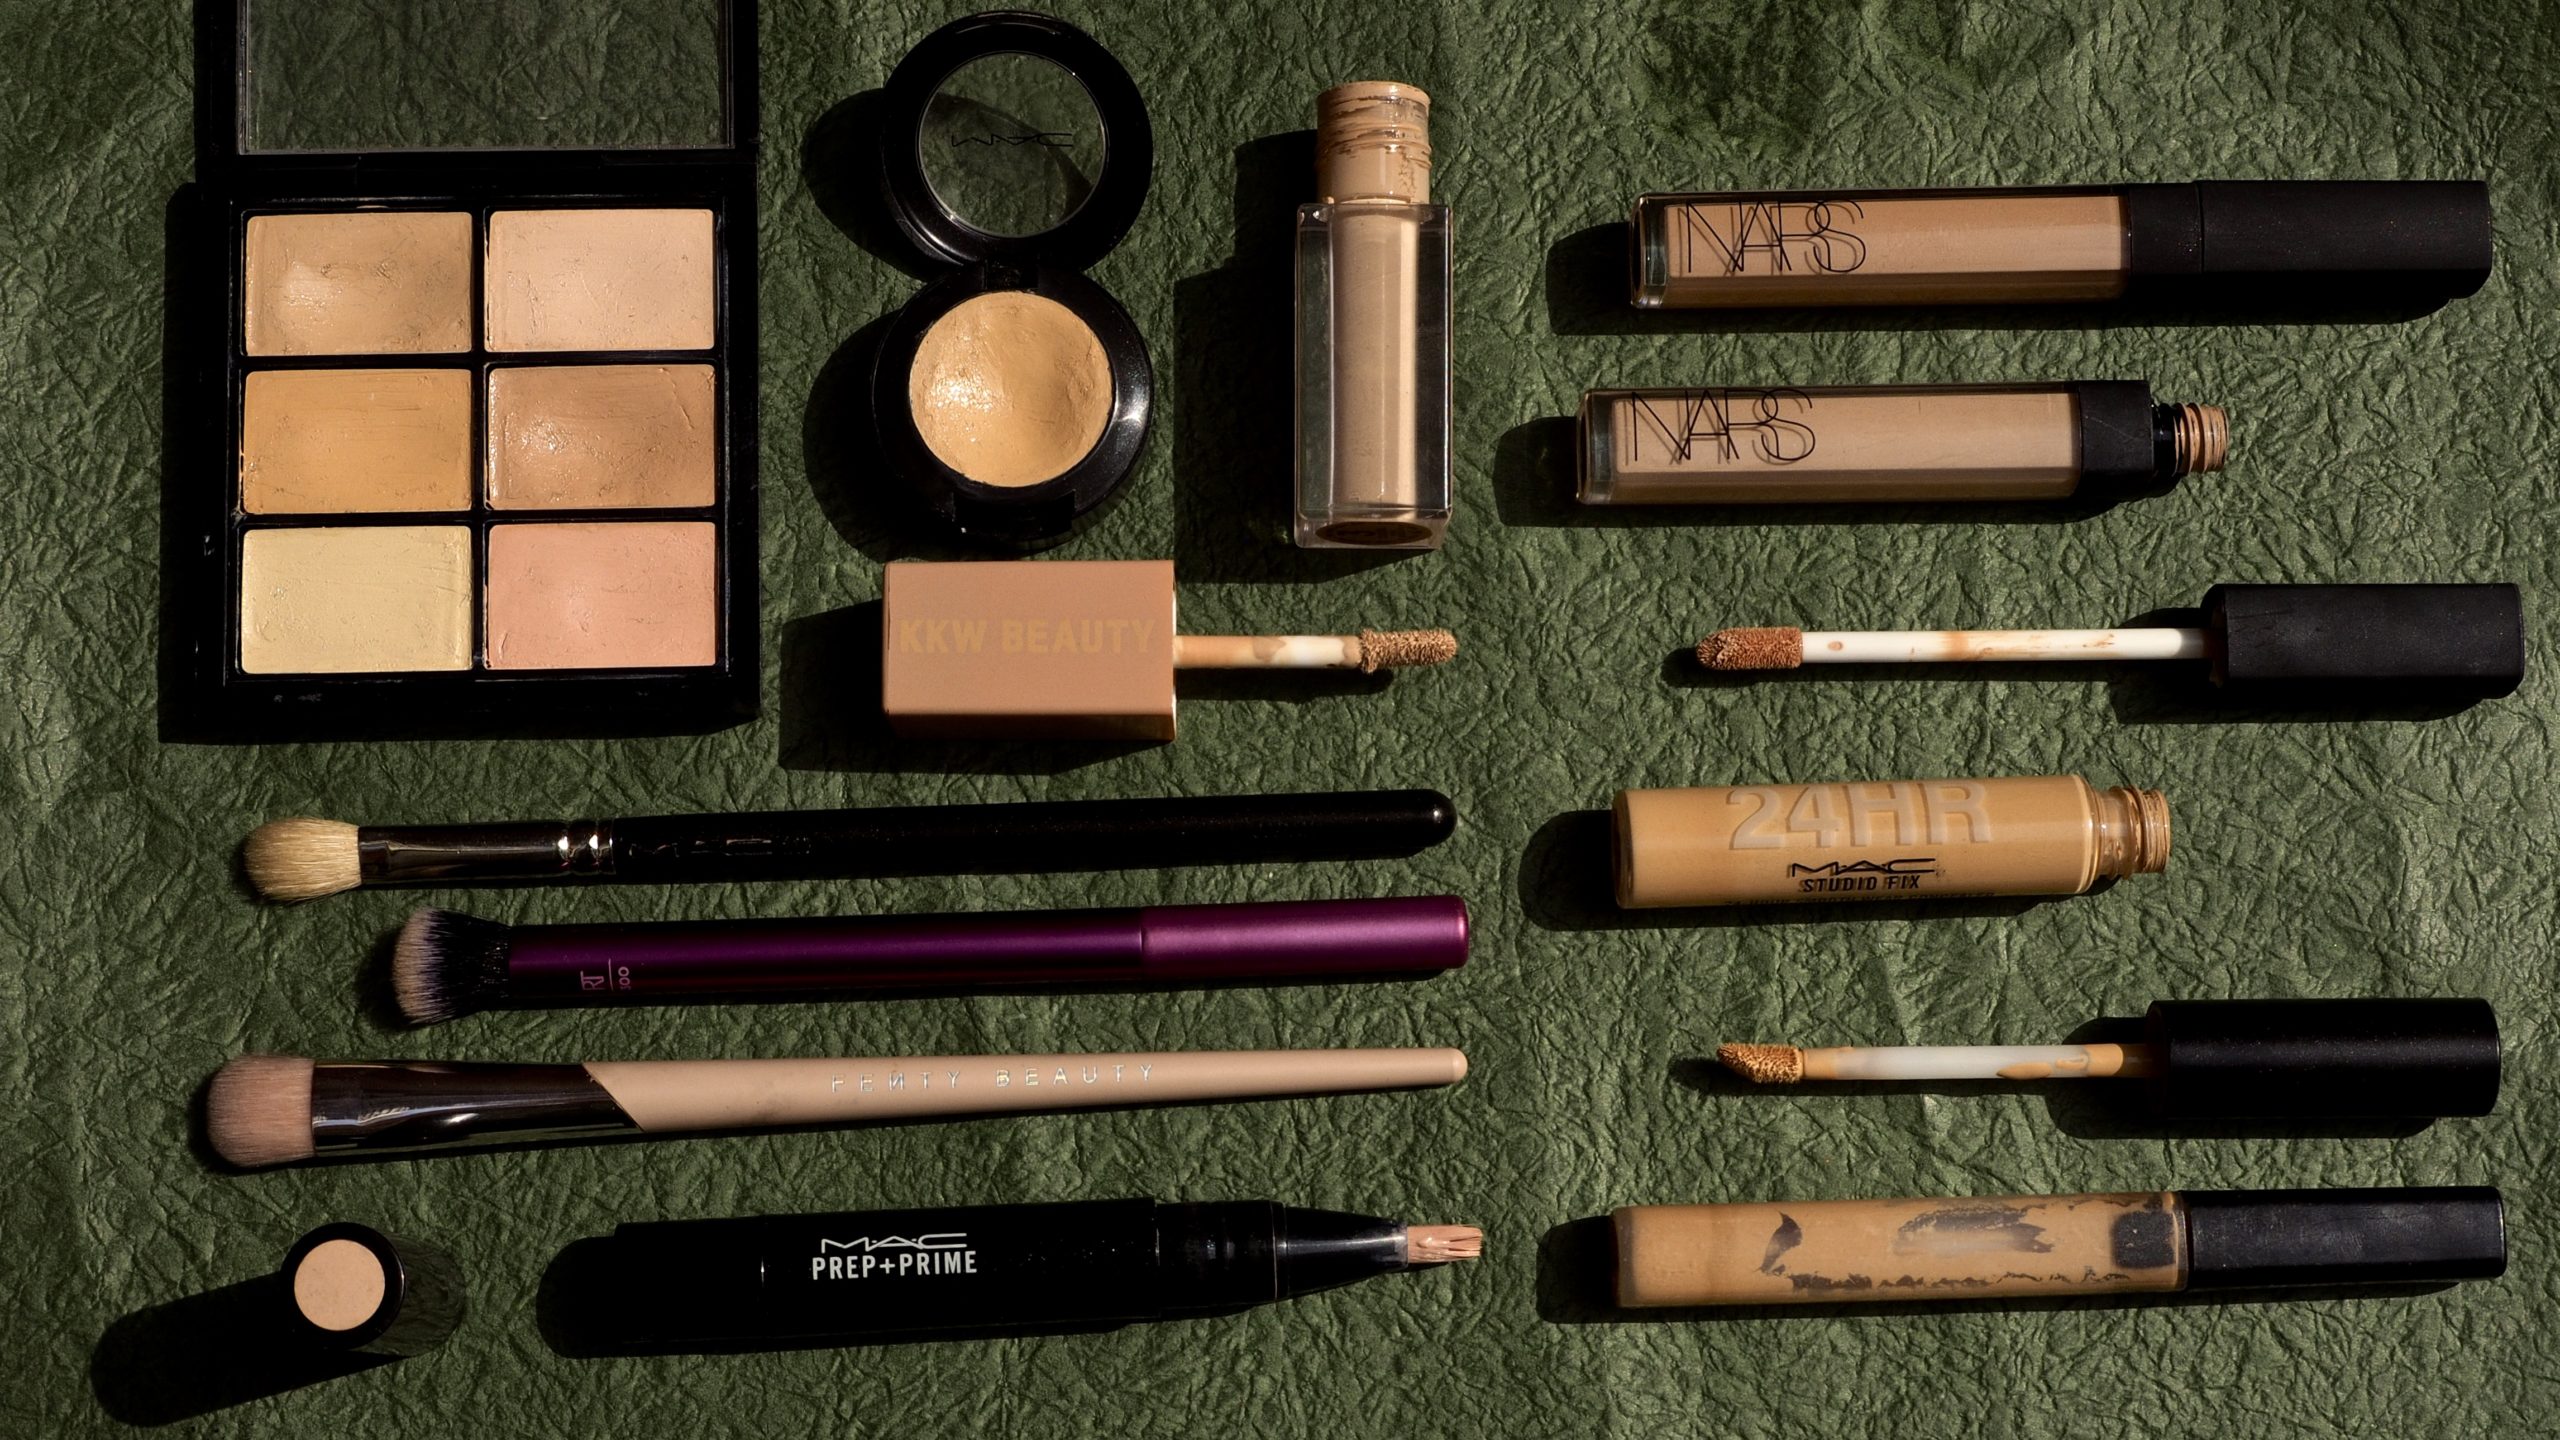
This is a product I wear every day! Not every day is a foundation day – often I just wear concealer where I need it instead – mostly around the eyes (as I have deep set eyes), visible veins and around the nose. As with foundation, there is a huge variety of concealers out there! Some have specific uses such as under the eyes or covering blemishes on the cheeks.
Let’s break it down.
Formulas
Concealers in the tube with a doe foot applicator are generally for use under eyes. They are liquid and typically non-drying. Coverage vary between brands.
Concealers in a pot are better at covering spots/blemishes, are more of a dryer formula and normally provide quite a full coverage.
Tools
Again I think clean fingers are marvellous applicators! Tool wise, small sponges (or the small side of a bigger sponge), small buffing or synthetic large eye shadow brushes will also do the trick. If using a brush, you want synthetic brushes when working with liquids and creams as they don’t soak up all product, unlike natural fiber brushes. Plus, it’s better for the animals!
MUA Tip:
If you have a liquidly concealer but need more coverage, dab it on but don’t blend. Wait a a minute or so, (perhaps go to another step e.g. eyebrows) then come back and blend it out. Alowing the concealer time to dry, will give it more coverage!
If you are experiencing under eye concealer creasing, let me break it to you…all concealers will eventually crease – unless your face doesn’t move, but I’m guessing that it does! Creasing is inevitable and happens to all of us, but different products will crease more on different people. I suggest testing different formulas and you’ll find ones that suit you better than others. Additionally, setting your concealer with a small amount of loose or pressed powder will help delay the crease!
